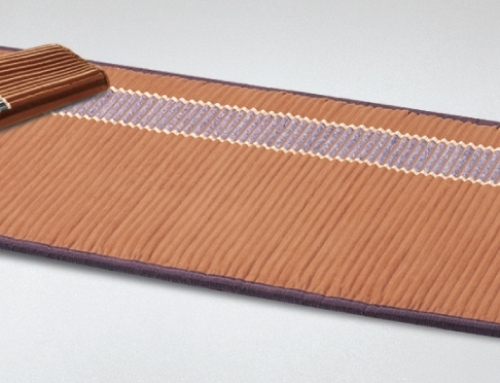
This blog post is about setting up the professional-size BioMat. When your new pro-size BioMat arrives, the first thing you will notice is it comes in a hard-sided suitcase on wheels. Once you unzip the suitcase, there are several components:
- The actual BioMat
- A cotton cover
- A controller
- A Germanium Power Pad.
First, take out the pro BioMat and remove the plastic protective wrap. (You may also find some small waterproof packets; remove those, as well.) The BioMat is folded in a particular way. (You may wish to take photos so you can remember how to re-fold it if/when the need arises.) Place the center fold at the middle of your massage table (or other flat surface) and unfold each of the folds from the center. The crystal side of the BioMat should face up.
Next is placement of the included cotton cover. You will notice the geometric pattern of the cotton cover. This is intentional so that the far infrared heat from the bio-mat disperses as evenly as possible. Take the end that resembles a fitted sheet and slide it on the foot of the BioMat. Now, you are ready to attach the elastic straps to the top of the Richway BioMat. (You should notice the controller access plug-in point at the top of the bio-mat.)
As you open the controller’s box, you will see two components:
- One is the actual controller.
- The other is a rectangular “stand.” (An IMPORTANT note: this “stand” can be inserted into the back of the controller. It is a bit challenging to insert and it will click once it’s in place. Once it is inserted properly, it is almost IMPOSSIBLE to change it/remove the “stand.” We suggest you use the controller awhile before inserting the stand; if you would prefer the controller to be lifted at an angle on the surface you are using it, then you will want to insert the stand.)
In next week’s blog entry, we will share more information about the controller.